Almond Crescent Cookies

Do you have a particular item of food in your family that holds sentimental value? I definitely equate certain things with certain family members… Brownies and my dad, fresh bread and my grandma, and (for some reason) chicken noodle casserole and my mom. Before I went to my husband’s family Christmas for the first time, I remember him talking about Grandma Peewee’s almond crescent cookies and how they’re his ABSOLUTE favorite. She didn’t disappoint- these cookies are buttery yet crunchy, almond-rich in flavor and coated in powdered sugar. She passed away several years ago, and I know Mark misses her… And those cookies. While I don’t have the shape quite right yet, I sure hope I’ve done Peewee proud with these.

Ingredients:
Yields about 2 1/2 dozen cookies
2 sticks unsalted butter, room temperature
2/3 cup sugar
1 tsp vanilla extract
1 tsp almond extract
2 cups flour
1 almond flour/meal
1 cup powdered sugar, for coating

Directions:
As so many recipes start… 😉 preheat oven to 350 degrees Fahrenheit and line some cookie sheets with parchment. Beat together butter and sugar on medium-high speed until light and fluffy. Add extracts and beat until incorporated. Slow mixer speed to avoid a mess and add flours to the mixture. Mix just until combined and a slightly crumbly dough has formed.
IMG_3242.JPG

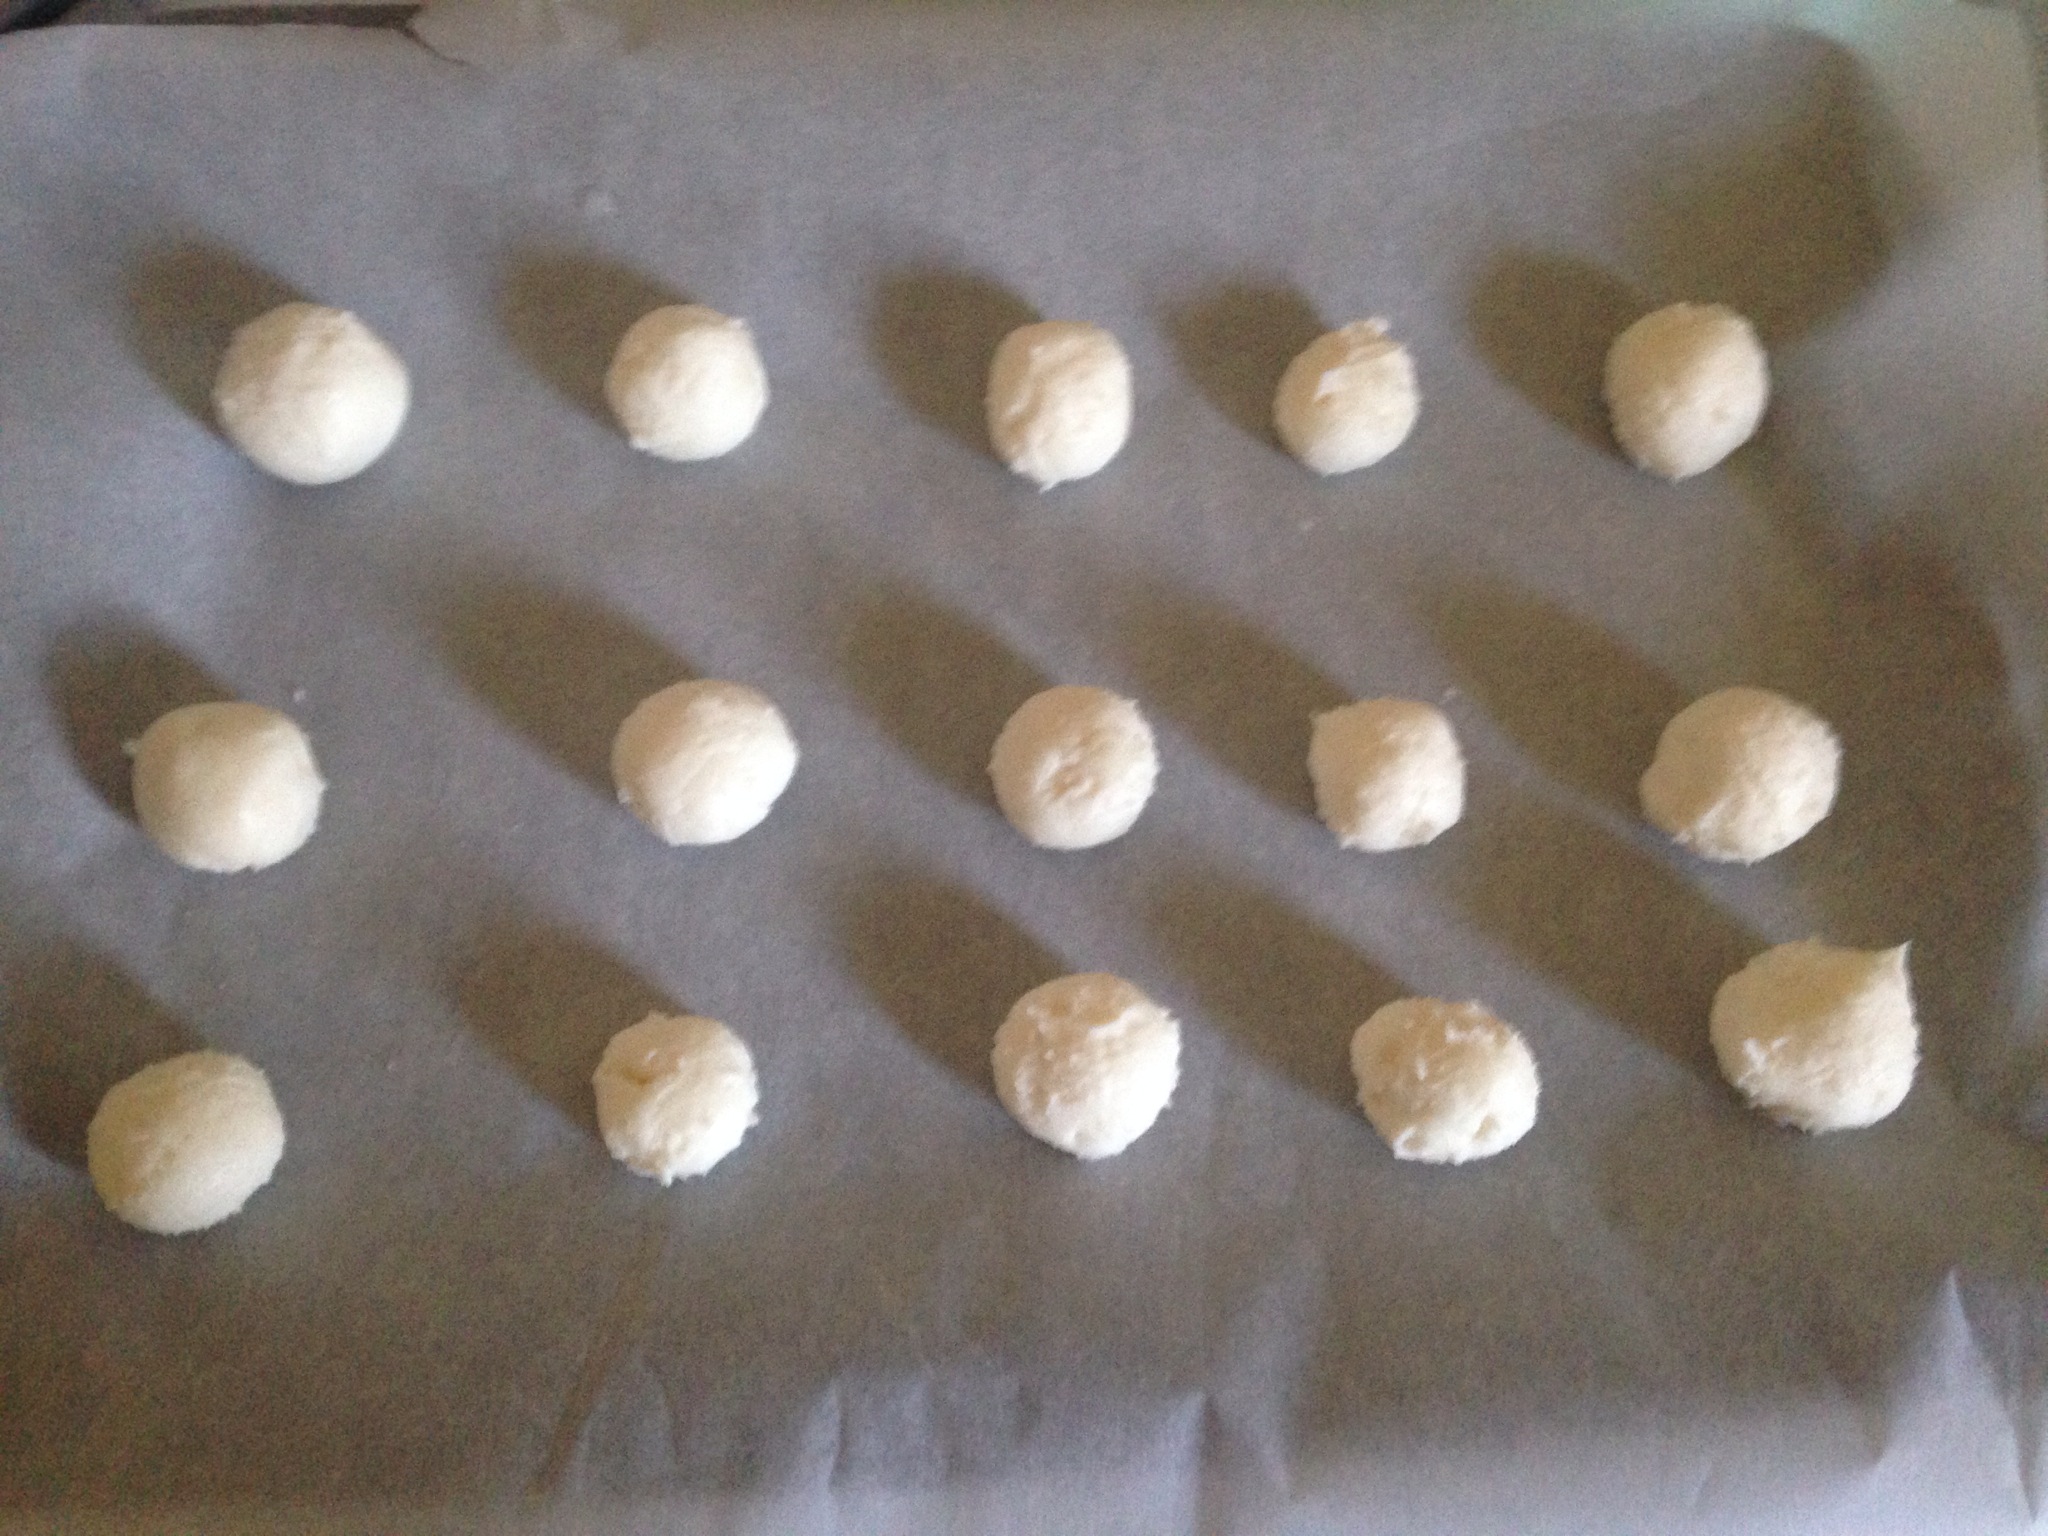
Now, to do this properly (according to Mark), you probably only need about a tablespoon of dough. I, however, just eyeballed some scoops of dough. Roll the dough into a small ball, then shape into a crescent.
IMG_3244-0.JPG
Bake for about 15 minutes, or until light golden brown.
IMG_3245.JPG

Now for the fun part! Dump your powdered sugar into a large ziplock bag…
IMG_3246.JPG
<br /
Toss a couple of those delights in the bag…
IMG_3247.JPG

Zip it up and give a good shake. Like shake and bake but for cookies! Kinda. Repeat with remaining cookies, adding more powdered sugar need be. You want the cookie fully coated!
IMG_3248.JPG

A perfectly decadent cookie, excellent with some coffee or tea. Consider these for your last minute cookie swap! Merry Christmas! 😊🎄🎁🍪

Recipe adapted from Simply Recipes.

Salted Chocolate Caramel Shortbread Bars

Ooo-whee, are these bars GOOD. Like, really, really, ridiculously good. They’re also pretty rich, so slicing them small is a must. Also a must? A hot cup of coffee. Not that I’ve ever eaten these for breakfast…

Anywho. They’re a bit time consuming to make as you have to make the cookie layer, then the caramel, and then the caramel has to set… You get the picture. The end result is soooo worth it though. Buttery shortbread dissolves into sweet vanilla caramel, all topped with a rich chocolate layer that’s sprinkled with sea salt. Are you drooling yet? These have earned the nickname “homemade Twix” amongst my friends and coworkers, which is fairly accurate. The cookie’s just not quite so crunchy. Not a bad thing! I highly recommend these as your next baking project.

Ingredients:
For the shortbread layer:
2 cups flour
2 tsp baking powder
¼ tsp salt
2 sticks unsalted butter, at room temperature
½ cup sugar

For the caramel layer:
2 sticks unsalted butter, cut into pieces
1 cup sugar
4 tbsp light corn syrup
2 (14 oz.) cans sweetened condensed milk

For the chocolate layer:
8 oz. semisweet or bittersweet chocolate, finely chopped
1 tsp light corn syrup
1 stick unsalted butter, cut into pieces
Sea salt for sprinkling

Directions:
Preheat oven to 325 degrees Fahrenheit and line a 9×13 baking pan with parchment paper. To make the shortbread layer, start by whisking together the flour, baking powder and salt in a small bowl. In the bowl of your stand mixer, beat the butter and sugar on medium speed until well blended. With the mixer on low speed blend in the dry ingredients just until incorporated. Transfer the dough to the baking pan and press in an even layer over the bottom of the pan. Bake 15-18 minutes or until golden. Transfer the pan to a wire rack and let cool completely.
IMG_3066.JPG
To make the caramel layer, combine the butter, sugar, corn syrup and condensed milk in a medium saucepan over medium heat. Heat, stirring occasionally, until the butter is melted. Increase the heat to medium-high and bring to a boil. Reduce the heat to maintain a simmer, stirring constantly. Continue simmering and stirring until the mixture turns an amber color and thickens slightly (as you can see, I let mine sit a little too long and I got some sticky pieces on the bottom).
IMG_3068.JPG

Pour the mixture over the shortbread layer, smooth the top, and allow to cool completely and set. Pop it in the fridge to expedite this part if you please!
IMG_3070.JPG

IMG_3071.JPG

I make the chocolate glaze the lazy microwave way, but you can obviously do it the proper double-boiler way if you choose. Here’s how I do it: combine the chocolate, corn syrup, and butter in a microwaveable bowl.
IMG_3080.JPG

Microwave in 30 second intervals, stirring between, until butter is completely melted and the mixture is smooth and glossy.
IMG_3081.JPG

Pour evenly over the caramel layer and use a spatula to smooth the top. You get no points for prettiness; it’ll taste just as good either way. 😉
IMG_3086.JPG

Allow to cool for a minute or two and then sprinkle with fleur de sel. Chill, covered, until ready to slice and serve.
IMG_3087.JPG

Recipe adapted slightly from Annie’s Eats.

Peppermint Patties

Now that we’re well into December, I’m getting the Christmas baking urge. Around Christmas time, my baking focus tends to shift away from cupcakes and more towards cookies, bars, and recently, candies. I love a good chocolate and mint combo and when I saw these, I knew I had to give them a try. Guys, you will not be disappointed. Cool, creamy peppermint filling surrounded by a slight crunch of chocolate… Perfection. You can use whatever chocolate you like or have on hand, but these have always turned out best for me using dark chocolate. They’re a bit time consuming but it’s mostly wait time. A perfect make ahead project!

Ingredients:
(Makes about 32 patties)
4 cups powdered sugar
1/4 cup evaporated milk
3 tbsps unsalted butter, room temperature
1 tbsp peppermint extract
1/2 tsp vanilla
1/2 tsp vegetable oil
12 oz dipping chocolate
1 tbsp shortening

Directions:
Add sugar, milk, butter, oil and extracts to the bowl of your mixer and beat until smooth.
IMG_3275.JPG

Cover and chill in refrigerator for an least 1 hour. When mixture has firmed, scoop some filling (I used a heaping measuring teaspoon) and form into small balls.
IMG_3276.JPG

Using the heel of your hand or the smooth bottom of a glass, slightly flatten the balls.
IMG_3277-0.JPG
Place sheet with disks into freezer and chill for another hour, until nice and firm. You don’t want them to melt into the chocolate!

Once your patties are solid, place chocolate and shortening in a deep bowl and microwave in 30 second intervals, stirring between. I like to add that little bit of shortening to thin out the chocolate some. There- smooth and glossy!
IMG_3296.JPG
Dunk patties in with a fork, covering completely…
IMG_3297.JPG

Then lay on wax paper to dry. Those extra pools on the side snap right off, no worries. ☺️
IMG_3298.JPG

Repeat with remaining patties. You can put these in the fridge to expedite the drying process if you wish.
IMG_3299.JPG

Voila! Homemade peppermint patties, perfect for Christmas gifting. (Hint hint!) These can be made ahead and kept in the fridge for 1 week, and you could even add some food coloring to the filling to make them festive. Enjoy!
IMG_3302.JPG

Recipe adapted from How Sweet It Is.

Restaurant Review: 20 Tap

Somewhere along the line of this blogging journey I decided it was a-ok to write up restaurants we’ve been to before, so when we decided to hit up 20 Tap before the Indy Fuel home opener it was a no-brainer to give the So-Bro spot some love. 20 Tap’s been around for a few years now, offering up a revolving list of interesting draft beers and superb, gourmet pub-style grub. This particular visit we made a really awesome discovery- they’re also kid-friendly! Nice that there’s a place to get quality food and out-of-the-ordinary beers with a little one in tow. We started with beers (duh) – Alpha King’s Yum Yum for him and the house pumpkin ale for me. Both good choices! Their focus is primarily local beers but they also feature a good variety of craft beers from across the country.
IMG_2681.JPG
We were talked into an app by our friendly waiter who’d recently relocated from Chicago and commented on our Blackhawks jerseys. And by talked into I mean, “Have you tried the cheese curds?” Sign. Me. Up.
IMG_2682.JPG

Continue reading

Funfetti Cupcakes

I bet if you ask 99.9% of kids what their favorite cake flavor is, they’ll say Funfetti. I have absolutely no research to back this up, I just know kids LOVE them some sprinkles. You know me, I’m a chocolate girl- but these light, fluffy little cakes with simple vanilla buttercream are pretty delightful. I made this particular batch for a friend’s daughter’s 10th birthday with a glow in the dark theme (sadly, they didn’t glow 😣) but Jamie said they were a big hit for flavor alone. Whip these up for your next birthday celebration for a simple but flavorful treat!

Ingredients:
For the cupcakes:
1 cup whole milk, divided
6 large egg whites
1 tbsp vanilla extract
¼ tsp almond extract
2¾ cups cake flour, sifted
1½ cups sugar
1 tbsp plus 1 tsp baking powder
¾ tsp salt
12 tbsp. (1.5 sticks) unsalted butter, at room temperature
½ cup multi-colored sprinkles (I used star quins, but use whatever you’ve got on hand)
For the frosting:
1½ cups plus 2 tbsp (3 sticks plus 2 tbsp) unsalted butter, at room temperature
3 cups confectioners’ sugar, sifted
Pinch of salt
2 tbsp heavy cream
1 tbsp vanilla extract

Directions:
I took zero photos of this part because c’mon… You’ve seen it a few times here alone 😉 so to start, preheat your oven to 350 degrees Fahrenheit and line your muffin tins with liners, about 2 dozen. In a liquid measuring cup, combine ¼ cup of the whole milk, egg whites, vanilla and almond extracts; whisk to blend. The aroma from this alone is intoxicating to me! No judging. In the bowl of your stand mixer, combine the cake flour, sugar, baking powder, and salt. Mix briefly on low speed just til combined. Add in the butter and mix on low speed until the mixture resembles wet sand. Now mix in the remaining ¾ cup of milk, then increase the speed to medium and beat for about 90 seconds more. Reduce speed back to low and add the egg white mixture in three additions, mixing for about 20 seconds after each addition. Gently fold in the sprinkles with a spatula.
IMG_2421.JPG
Bake for 18 minutes, rotating tins halfway through baking, or until a toothpick inserted into the center comes out clean. Transfer to a wire rack to cool completely.
IMG_2423.JPG

IMG_2424.JPG

Don’t those colored liners make these even more fun?! Thanks for the practical gift, Ali! 😊

While your cakes are cooling, whip up your frosting. Using the whisk attachment, whip butter on medium-high speed in the clean bowl of your stand mixer for about 1 minute, or until smooth. Reduce speed and add sugar just until incorporated, then add salt. Beat for another minute or 2 on medium-high speed, then drop it to low speed and add the heavy cream and vanilla. When juuuust incorporated into the mix, kick the speed up again and continue to whip until light and fluffy. This frosting is lighter than air, like a cloud. I’m drooling just writing about it.
IMG_2422.JPG

Frost cupcakes as desired and top with more sprinkles if you wish! I left these as is as they were supposed to glow in the dark (*sigh* fail) but they look super cute with a little extra adornment.
IMG_2425.JPG

Recipe from Annie’s Eats.

White Chicken Chili

We just loooove chili in our house. I mean, is there really a more perfect meal when the weather gets chilly? As much as I love a chili that takes the whole day to simmer, I love this recipe for it’s simplicity and quick cooking time. Perfect for one of those “MAN I do NOT feel like cooking tonight, but we can’t eat out again this week” nights. I’d be willing to bet you’ve got the staples for this chili in your pantry as well, so don’t wait to try it!

Ingredients:
2 tbsp olive oil, divided
1 lb. boneless, skinless chicken breasts, cut into cubes
1 medium onion, chopped
3 cloves garlic, minced
1 tsp kosher salt
1 tsp cumin
1 tsp dried oregano
½ tsp ground black pepper
¼ tsp cayenne pepper
2 cans white beans, drained and rinsed
1 can chicken stock
2 small cans diced green chiles
1 cup plain greek yogurt (or sour cream)
½ cup heavy cream or half-and-half
Fresh cilantro and paprika, for garnish

Directions:
In a large saucepan or stockpot, heat 1 tablespoon of your olive oil over high heat. Add your diced up chicken to the pot…
IMG_2511.JPG
And sauté until no longer pink. Remove to a plate and set aside.
IMG_2512.JPG

Add additional tablespoon of oil if necessary, then the onion. Cook until translucent and soft, then add this yummy looking and smelling array of spices! Cook just another 30-60 seconds, or until fragrant.
IMG_2504.JPG

I wish you could smell this. Smell’onet, coming to a computer near you!
IMG_2513.JPG

Return chicken to pot along with chicken stock, green chiles, and beans. Bring to a boil, then reduce heat to simmer for about 30 minutes.
IMG_2514.JPG
When done simmering, turn off heat. Stir in yogurt and heavy cream. Mmmmm.
IMG_2515.JPG

Taste and season as needed. Ladle up a bowl and garnish with cilantro and paprika. This would be lovely with some smoked Gouda as well I think!
IMG_2521.JPG

IMG_2522.JPG

Recipe from Annie’s Eats.